Woodworking environments need more dust attention
Woodworking CNC routers often operate in dusty conditions, and the ball screw, nut, and support units can be affected by wood dust. Replacement should confirm protection, lubrication, and installation space, not only model.
Wood dust is not like metal chips: it is abrasive, and once it reaches the ball circuit it grinds between the balls and the raceway. The usual failure sequence runs from running noise, to drifting position, to visibly increased backlash. By the time the noise is audible, screw and nut usually have to be replaced together.
Three levels of response follow the protection state:
| Current state | What to do |
|---|---|
| Bellows or telescopic cover fitted, screw surface clean | Replace screw and nut, restore lubrication |
| Cover damaged or missing, debris on the screw | Replace screw and nut, and fit a cover plus wiper |
| Guides and bearing housings also worn | Assess the whole axis, so a new screw does not land in a worn machine |
Do not stop at 1605 or 2005
Common models such as 1605, 1610, 2005, and 2510 are only base specifications. Overall length, thread length, end machining, nut direction, and support model decide whether the screw can be installed directly.
A woodworking router typically runs 1610 or 2510 on X/Y for rapid travel and 1605 on Z for lifting force, so the three axes are not necessarily identical and each has to be confirmed. For how lead changes speed and thrust, see how to choose ball screw lead for a CNC router.
Old-part photos reduce wrong assumptions
Repair buyers should photograph the full screw, both ends, nut flange, mounting holes, coupling, and machine axis position. Photos plus dimensions are more reliable than model number alone. For measuring the six key dimensions, see how to measure a replacement ball screw.
Put a tape or caliper in the frame and measure overall length, thread length and each end step — that is what decides whether to copy the old part or machine to a new support unit.
RFQ checklist
- Machine brand, model, and axis.
- Old screw diameter, lead, overall length, and thread length.
- End machining dimensions or support unit model.
- Nut style, dust protection, and purchase quantity.
FAQ
Can I replace only the screw, not the nut? It depends where the wear sits. Dust wear usually appears on both screw and nut, so replacing one often leaves the same backlash; judging them together off the machine saves a second round.
What lead time applies? Standard rolled C7 runs about 3–7 days depending on machining volume and difficulty; a ground part made to a drawing runs about 35–60 days depending on model and quantity.
Is restoring the dust cover worth it? Yes. Without protection the new screw's life shortens noticeably, and fitting the cover costs far less than replacing the screw again.
Next step
Turn this guide into an RFQ
When the specification direction is clear, send the details below together with quantity, lead time, and packing requirements.
Include these details
- Old-part overall length, thread length, diameter, lead, and nut style.
- Full old-part photos, both end details, nut flange, and mounting-hole photos.
- Machine use, whether it is a like-for-like replacement, quantity, and lead time.
Category
Related Technical Guides
Continue with similar buyer questions
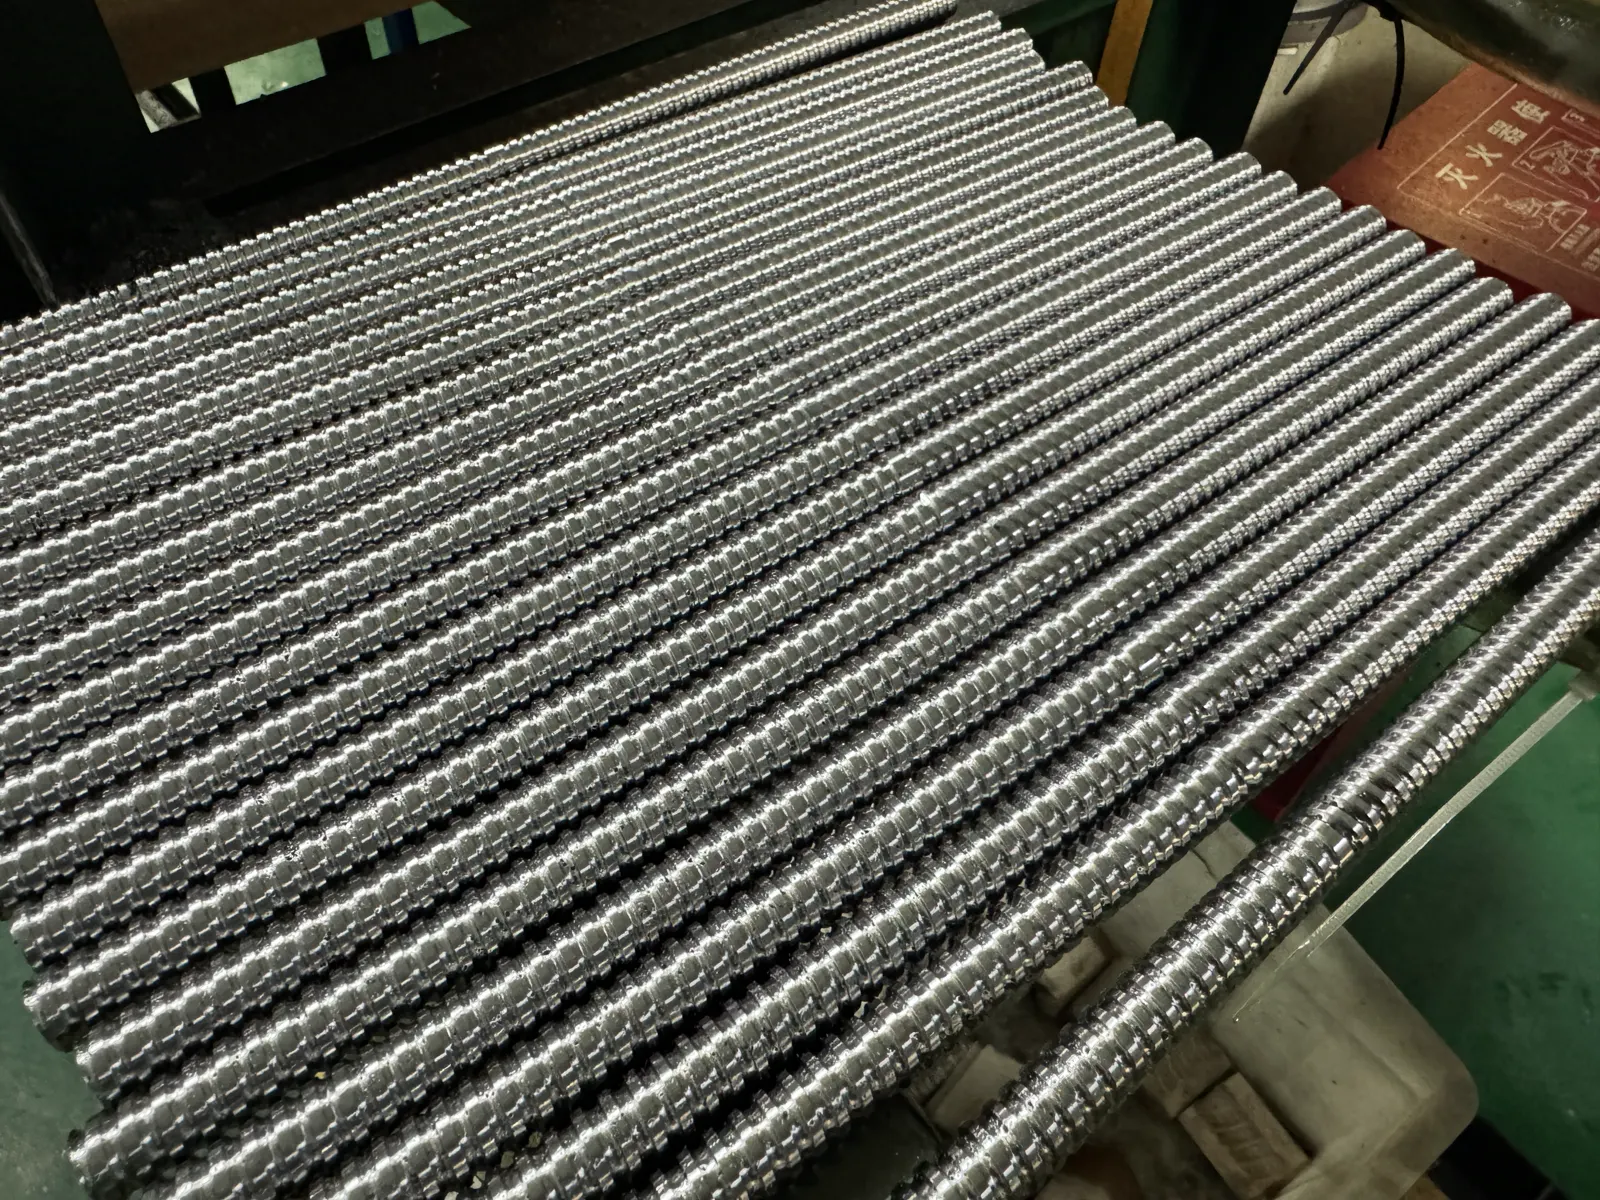
How to Measure a Replacement Ball Screw: 6 Dimensions
Record diameter, lead, overall length, travel, and end steps before sending old-part photos or samples.
Send replacement dimensions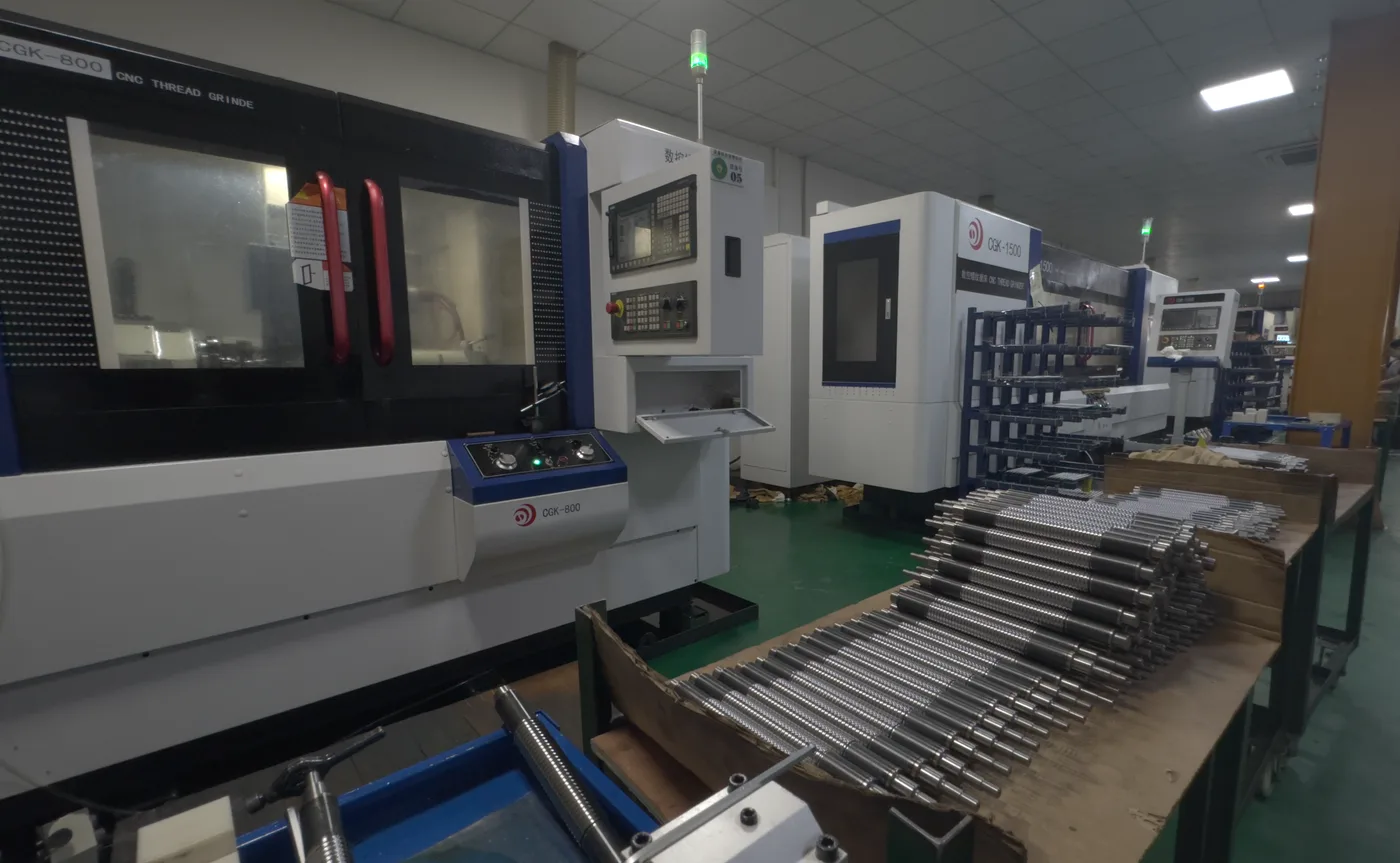
What to Confirm Before Replacing a Ball Screw in CNC Repair
CNC repair replacement should not be ordered by model number alone because axis, travel, end machining, and old part photos affect installation fit.
Send CNC repair replacement details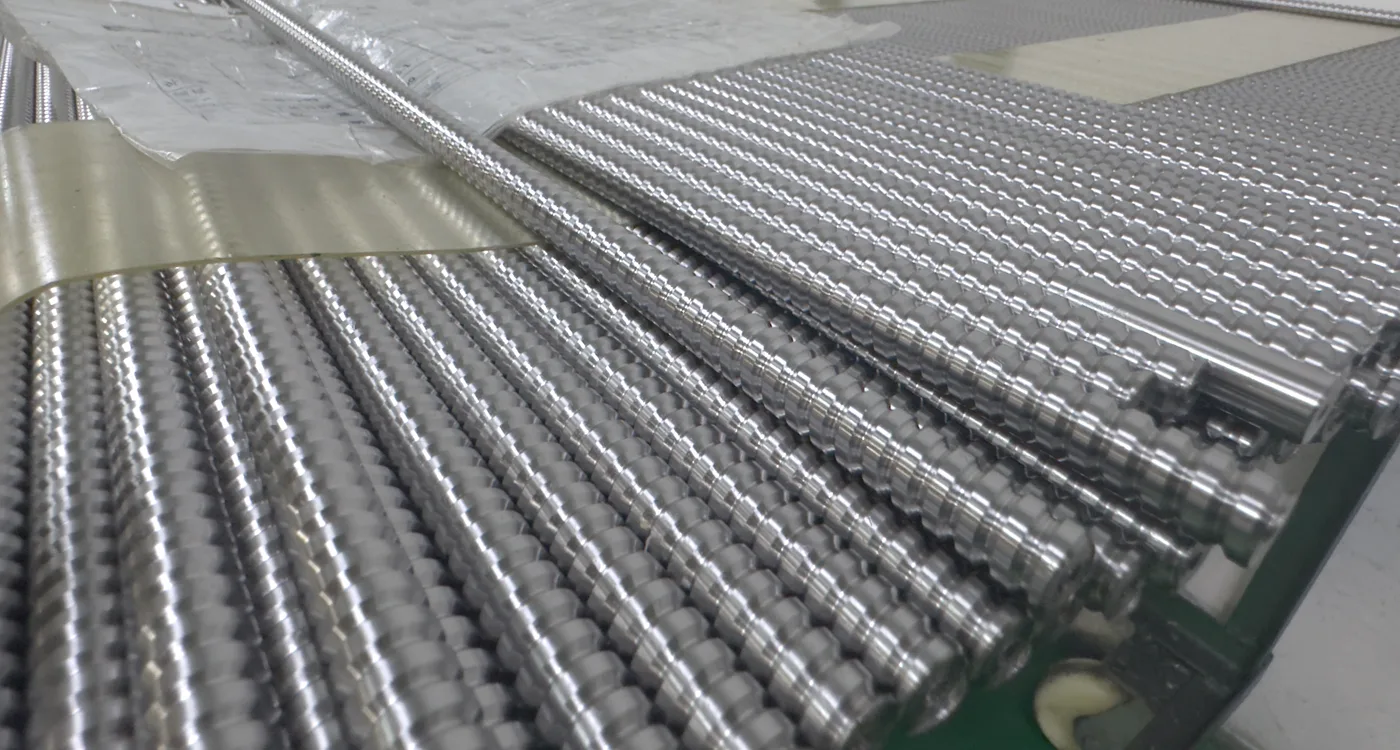
Replacement Ball Screw: Why Overall Length Alone Is Not Enough
Overall length is only one dimension. Thread length, end machining, and installation positions decide whether the replacement fits.
Send replacement installation dimensions